How to Set Up an Amazon Web Server for Cheap
By Raising Awesome © August 1, 2021
Introduction
So, you may already built a .Net web site on a Raspberry Pi. However, leaving that port open 24/7 makes you a little nervous. I've never had an issue with it, but I, too, still felt better landing my site on a free AWS server. So, we moved ours there. This blog will show you how to do it for a price of about $2 bucks for the first year.
Good reasons to do it:- It runs 24/7 for free (assuming you won't have much traffic).
- It's secure - you can even target subnets and IP addresses to limit traffic.
- Depending on your career path, knowing how to truly do it yourself can be a plus.
- .Net is already installed on it.
- It compiles ASP.NET web apps very quickly compared to a Raspberry Pi.
- It will take about an hour to get it setup.
- You'll need to provide a credit card to Amazon and they will make a $1.00 refunded charge against it to validate it.
- You won't get charged anything else.
- .com domain names are expensive, but you can get .site and .info for a couple of bucks.
- If you go with a paid domain name, they cost more the second year, so you may want to be sure they aren't set for auto renewal.
Set Up Your AWS Account
Just head over to Amazon Webservices and set up an EC2 (Elastic Compute Cloud) instance. This is a virtual server.
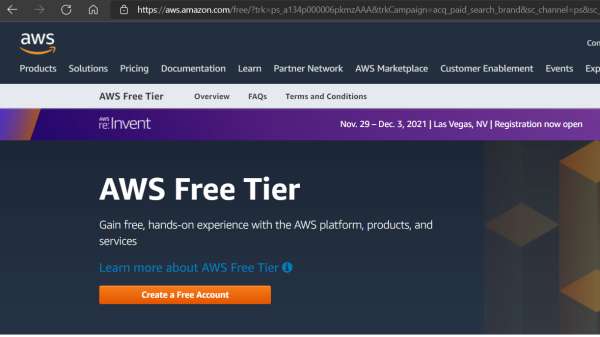
- Link: AWS Free Tier Sign Up
- Look for the links to create your account. After establishing your account, the service you are looking for is EC2 - Elastic Computing with Amazon Linux 2
Setup Your Website
To get everything going, you first just want to get the basic Apache server running.
- Once connected with VSCode, click Terminal-->New Terminal and paste these commands to setup Apache:
sudo yum install -y httpd httpd-tools mod_ssl
sudo systemctl enable httpd
sudo systemctl start httpd- Now just type http://Your_AWS_IP in your browser of choice and you should get the Apache start screen. See it? You're awesome!
Get a Web Address (aka Domain Name)
The domain name is the part of the Internet Address after the typical www. For example, www.example.com has
a domain name of example.com. The www part is considered a subnet of the domain. People tend to just have
that subnet only as there starting point for their website.
There are many providers out there that sell domain names.
Once you own it, you can transfer it to another provider as well. For example, if you got it at GoDaddy, you can
transfer it to AWS or CloudDNS. Just try to find one that meets your long term needs as the priceless go up in the
second year.
Links:
Setup TSL (aka SSL)
Now that you have a domain name, you need to setup of TSL. This gives you the https designation that prevents allow those nasty security warnings to your visitors. Luckily, this is free and will take care of its updates automatically with LetsEncrypt!
- Certbot Installation Guide - this is Amazon's excellent guide for setting up TSL which I summarize below.
- Tip: Use this to check to see if you are listening on 443: netstat -ntupl | grep :443
sudo wget -r --no-parent -A 'epel-release-*.rpm' https://dl.fedoraproject.org/pub/epel/7/x86_64/Packages/e/sudo rpm -Uvh dl.fedoraproject.org/pub/epel/7/x86_64/Packages/e/epel-release-*.rpmsudo yum-config-manager --enable epel*sudo nano /etc/httpd/conf/httpd.conf<VirtualHost *:80>
DocumentRoot "/var/www/html"
ServerName "example.com"
ServerAlias "www.example.com"
</VirtualHost>sudo systemctl restart httpd #restarts the apache servicesudo yum install -y certbot python2-certbot-apache #installs the TSL app certbotsudo certbotMake You a Web Page
With Bootstrap styling and an old school text editor, you are on your way to making a very professional site. However, to
truly be awesome, you need to use ASP.Net Core to make you a dynamic site like this one. Dynamic means you can put "IF..THEN"
logic in your HTML to change the user experience based on conditions such as time of day or season.
ASP.Net Core is already installed on your EC2 Amazon Linux 2 virtual server. So,
it's just a matter of setting up Apache to be a Reverse Proxy to your ASP.Net web application you will create.
- HTML Tutorial by W3Schools - the definitive reference for making a web page.
- Bootstrap - the standard for styling web pages with responsive displays across all sizes of screens
- How To Reverse Proxy Apach to ASP.Net: Our ASP.Net Core Installation Instructable
You are Officially Awesome!
If you made it all the way here, then you are the proud owner of a domain name and web site. Great Work! Keep being awesome.